AWS
Amazon Web Services (AWS) is the world’s most comprehensive and broadly adopted cloud platform, offering over 200 fully featured services from data centers globally.
AWS CLI (Command Line Interface)
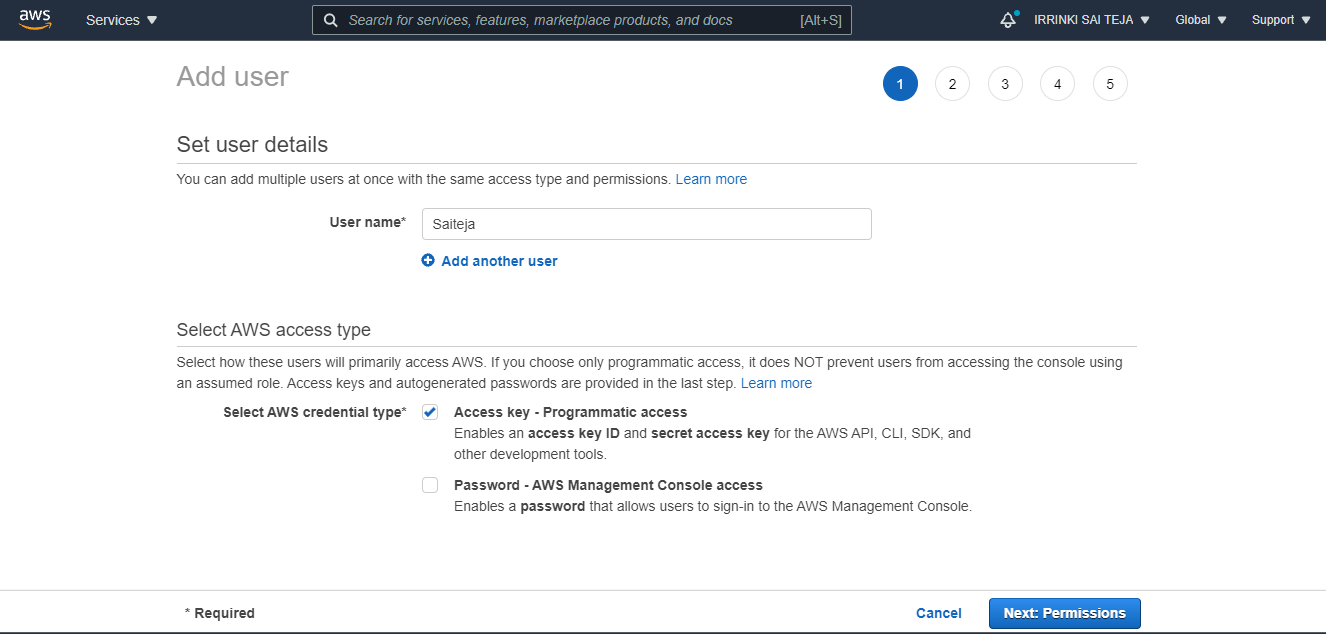
Setting up IAM user
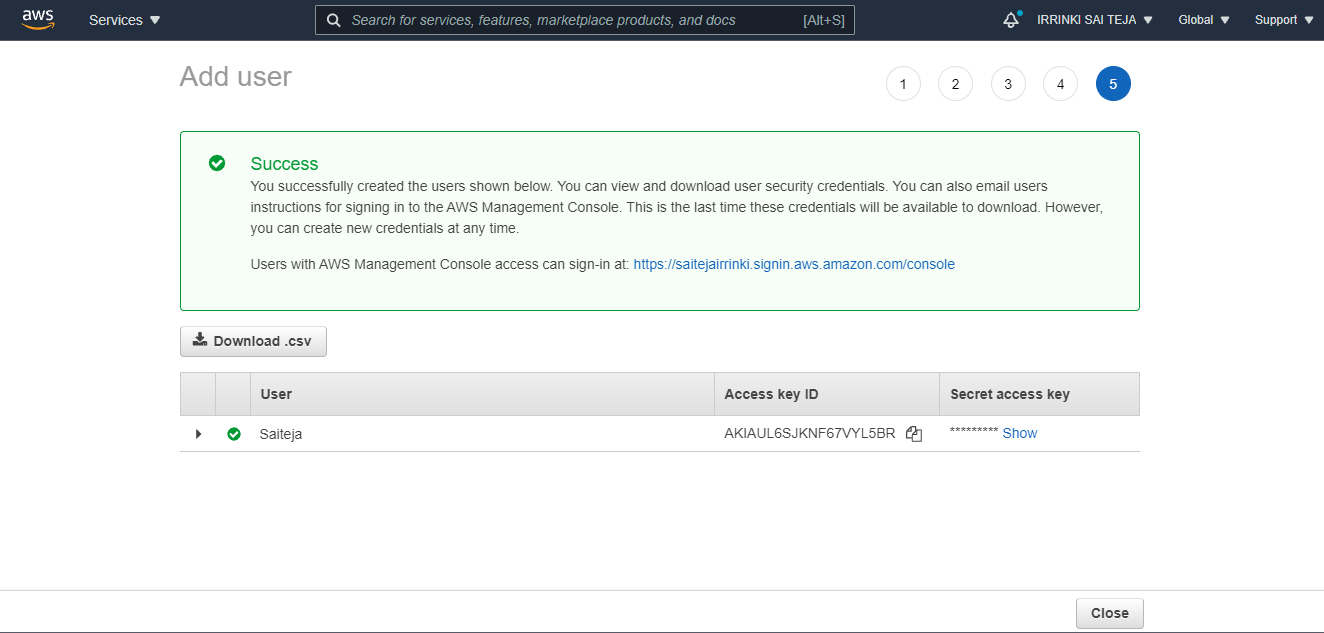
Creating User with Access-key
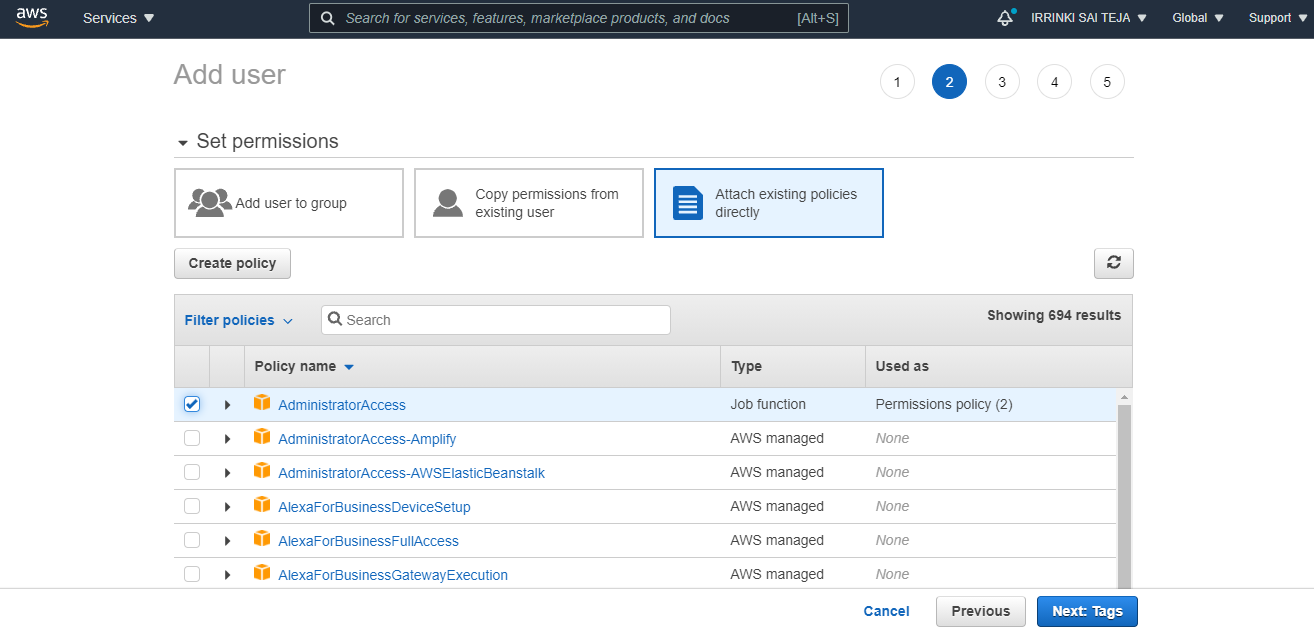
Set permissions & Attaching Policies
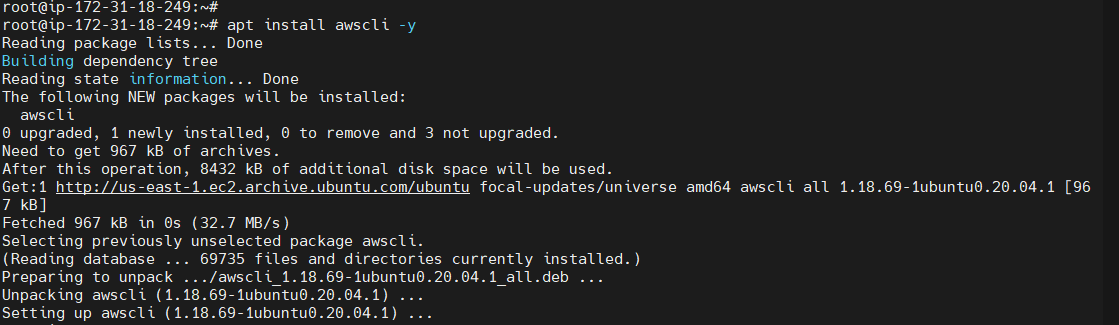
Installing AWS-CLI
sudo -i
sudo apt update
apt install awscli -y
Configure AWS CLI with IAM user Credentials with a specific Region
aws configure
 Once it is done try some aws cli commands like aws s3 ls If u have any buckets in your s3 it will list
EC2 – Elastic Compute Cloud
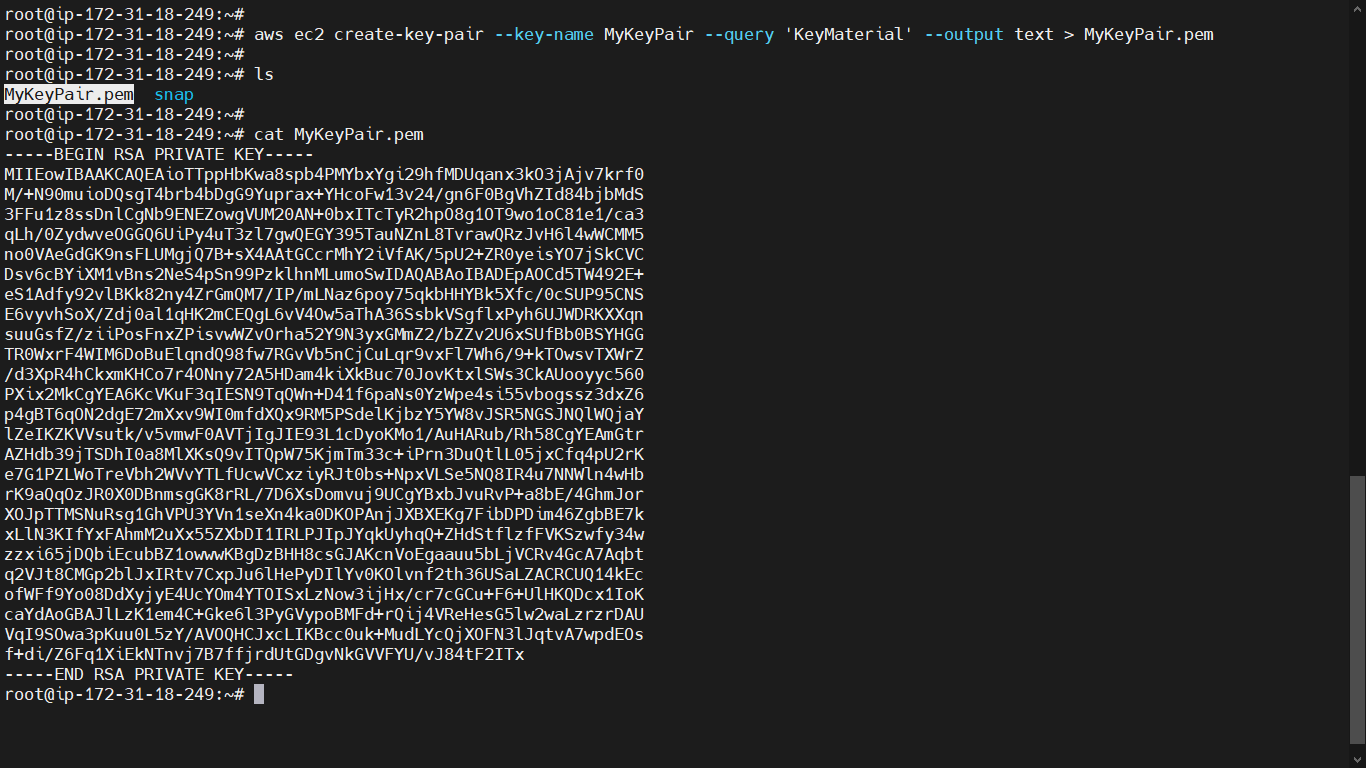
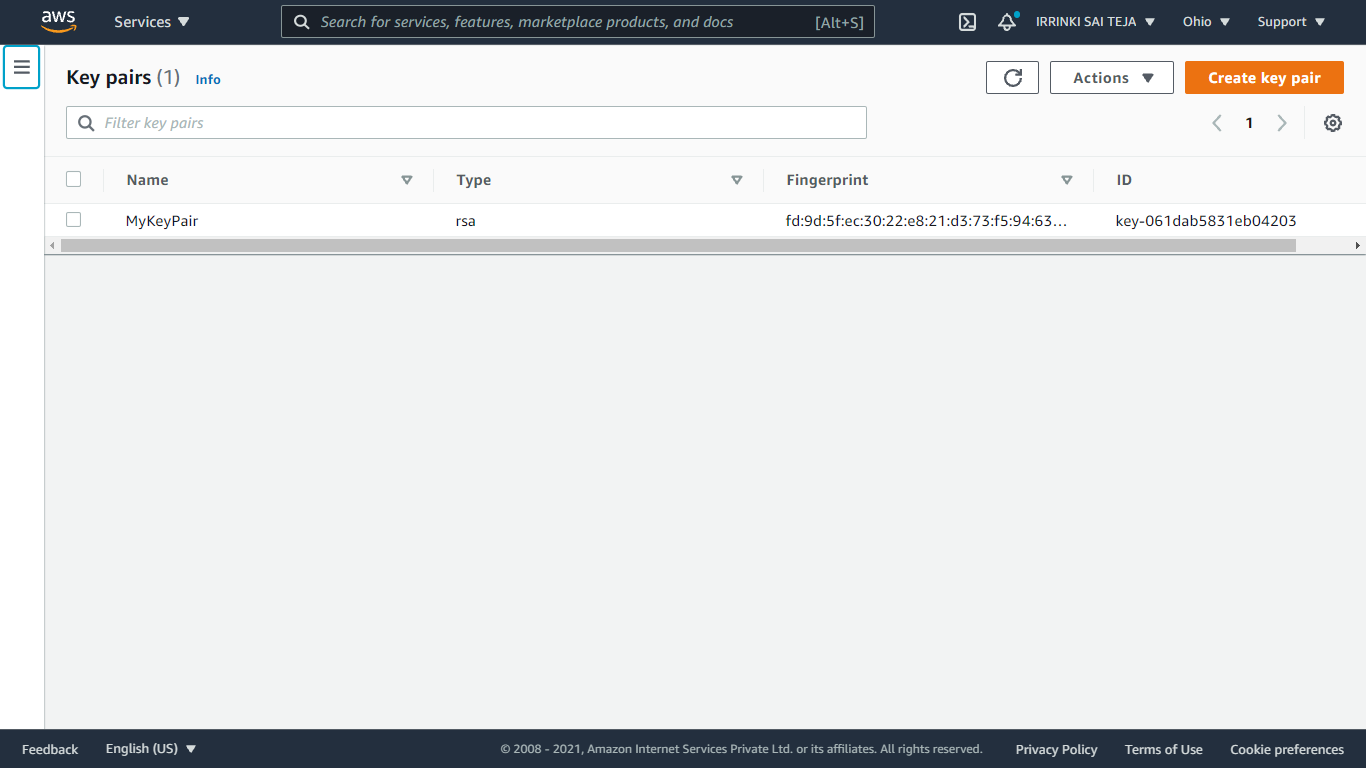
Create a key pair
aws ec2 create-key-pair --key-name <keypair-Name> --query 'KeyMaterial' --output text > <keypair-Name.pem>
Delete a key pair
To delete a key pair, run the aws ec2 delete-key-pair command, substituting MyKeyPair with the name of the pair to delete.
aws ec2 delete-key-pair --key-name <keypair-Name>

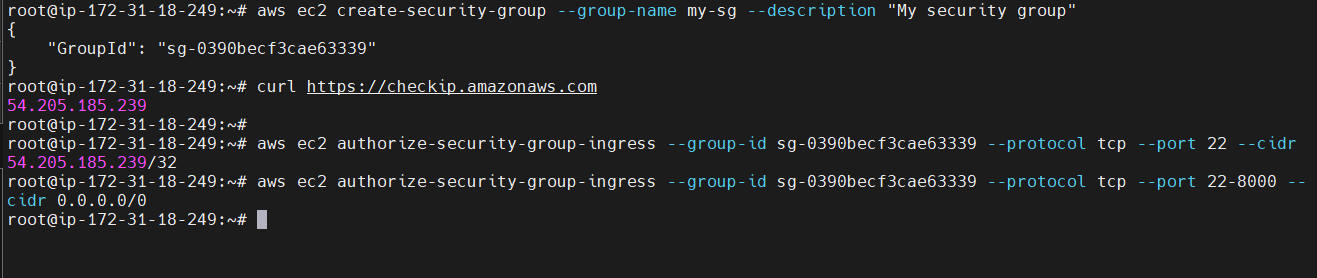
Create a Security Group & Adding Inbound rules
aws ec2 create-security-group --group-name <security grp Name> --description "<Description>"
curl https://checkip.amazonaws.com
aws ec2 authorize-security-group-ingress --group-id <security group Id> --protocol tcp --port <port Number> --cidr <ip address>
aws ec2 authorize-security-group-ingress --group-id <security grp Id>--protocol tcp --port 22-8000 --cidr 0.0.0.0/0
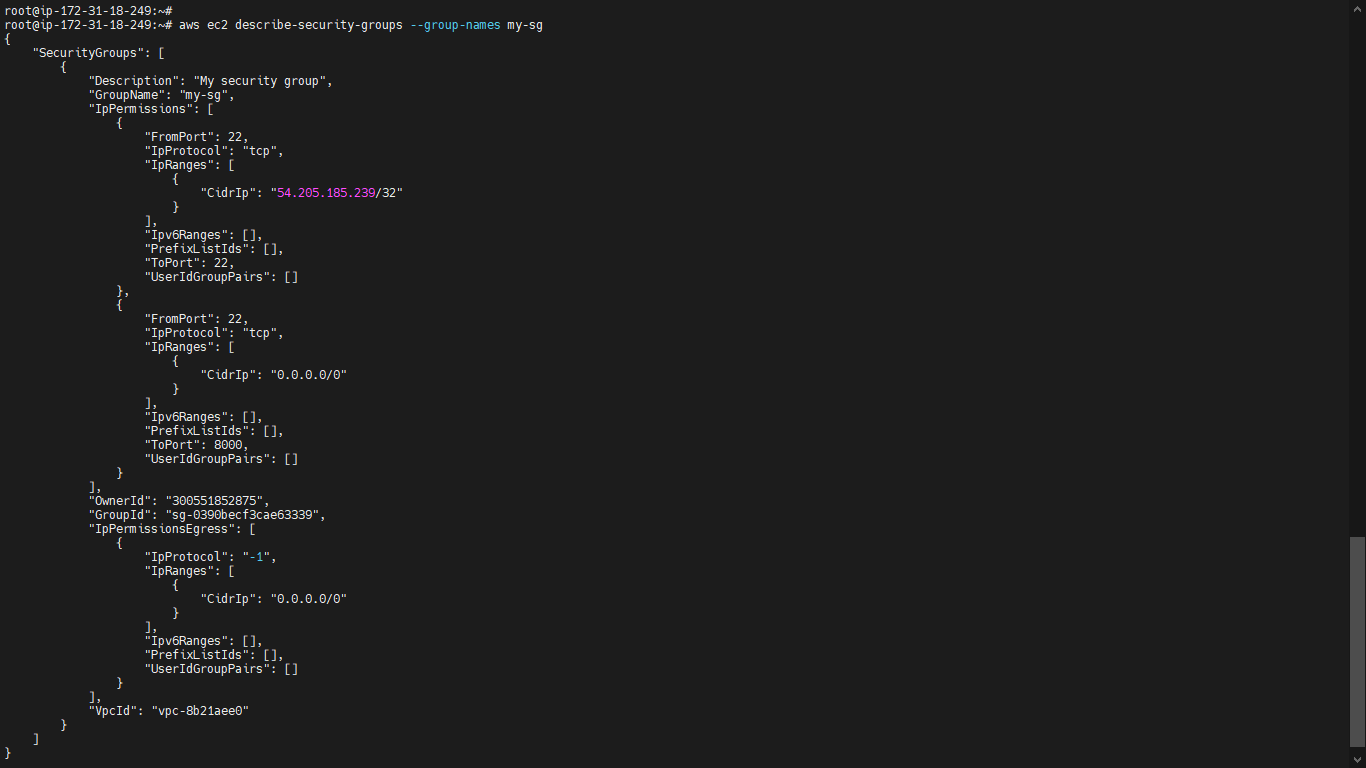
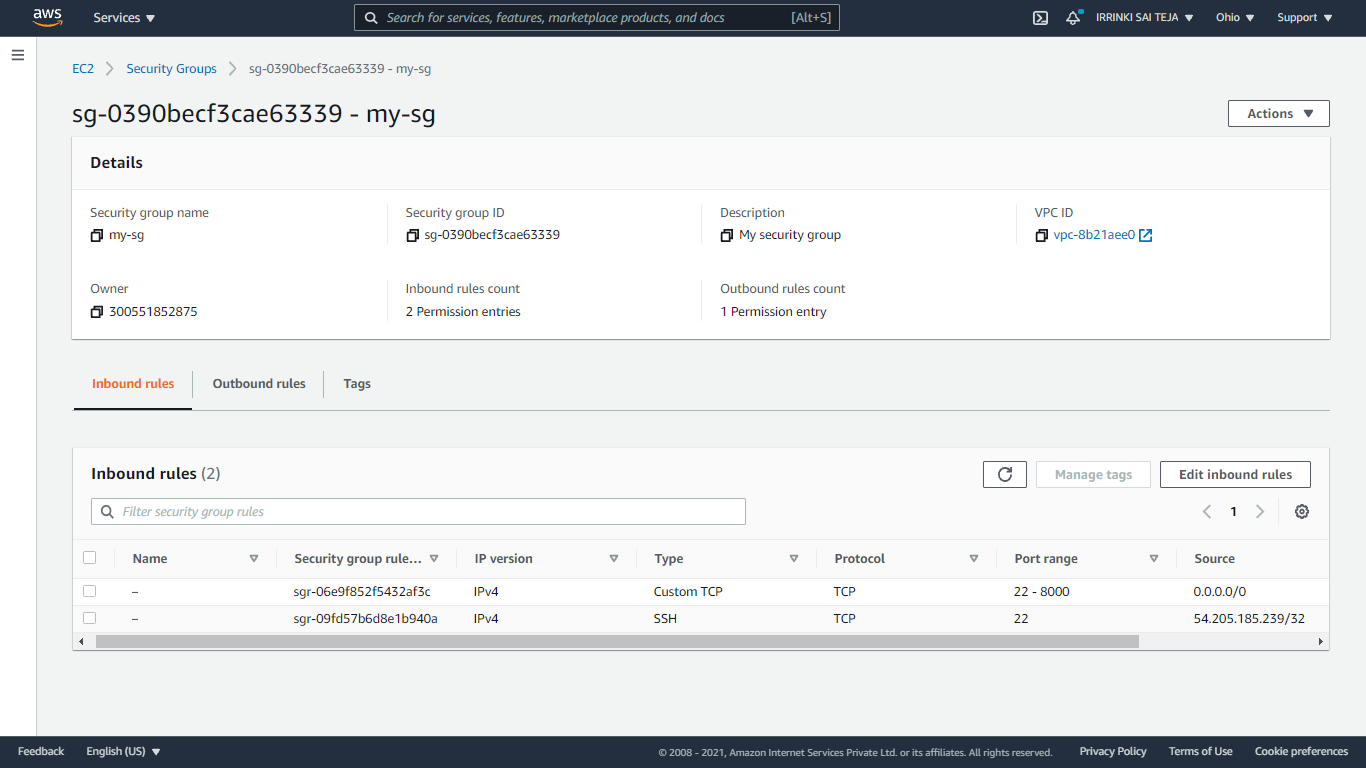 To view the initial information for my-sg, run the aws ec2 describe-security-groups command. For an EC2-Classic security group, you can reference it by its name.
aws ec2 describe-security-groups --group-names <security grp Name>
Delete your security group
The following command example deletes the EC2-Classic security group named.
aws ec2 delete-security-group --group-name <security grp Name>

Launch Instance
You can use the following command to launch a t2.micro instance in EC2-Classic. Replace the italicized parameter values with your own. You can get the AMI IDs from documentation or console for your required Instance.
aws ec2 run-instances --image-id <ami-Id> --count 1 --instance-type <type> --key-name <keypair-Name> --security-groups <security grp Name>

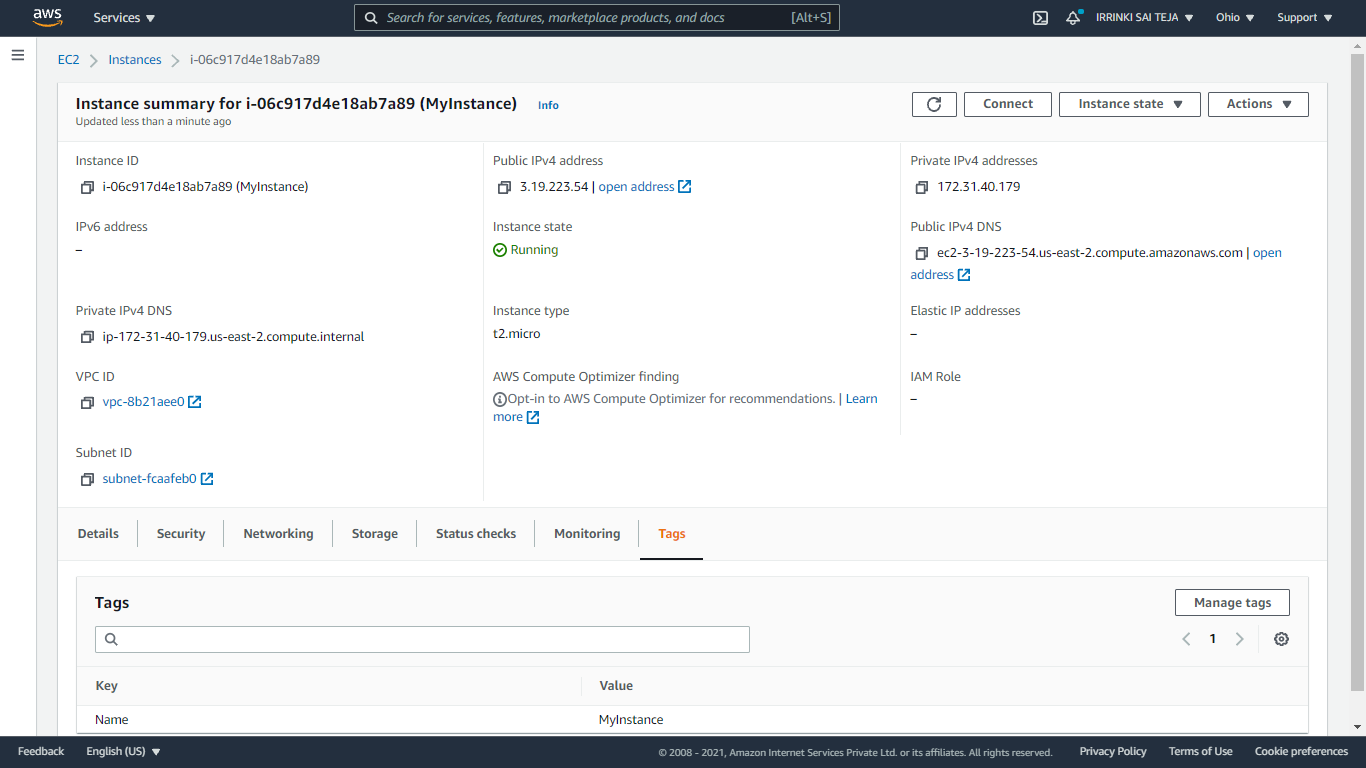
Add a tag to your Instance
aws ec2 create-tags --resources <Instance-Id>--tags Key=Name,Value=<value>
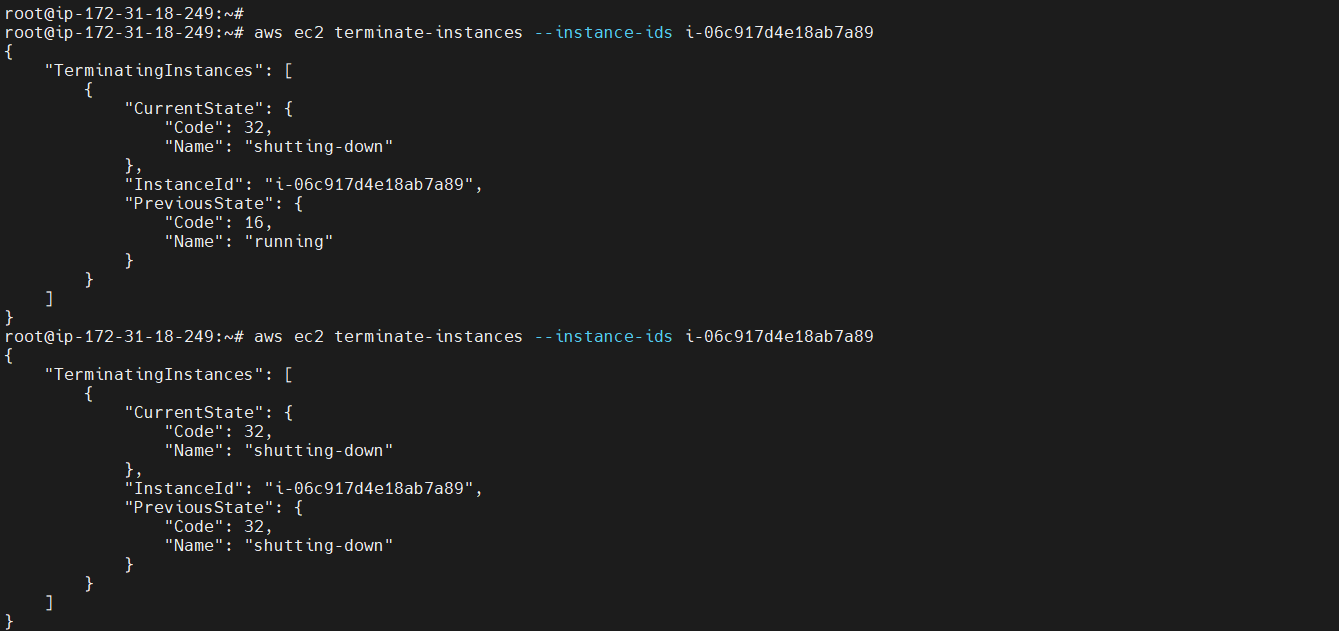
Terminate your Instance
To delete an instance, you use the command aws ec2 terminate-instances to delete it.
aws ec2 terminate-instances --instance-ids <Instance-Id>
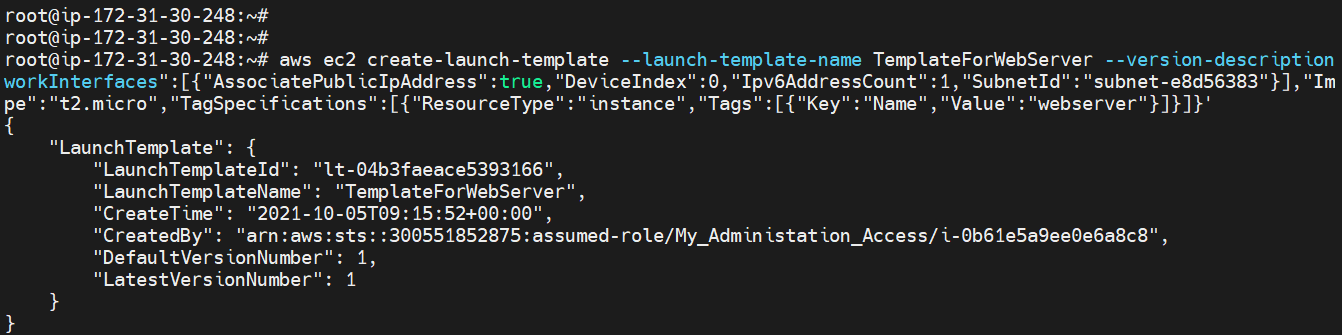
Create Launch Template
aws ec2 create-launch-template --launch-template-name <Name>":[{"AssociatePublicIpAddress":true,"DeviceIndex":0,"Ipv6AddressCount":1,"SubnetId":"pe":"<Instance type","TagSpecifications":[{"ResourceType":"instance"," Tags":[{"Key":"Name","Value":"<value>"}]}]}'
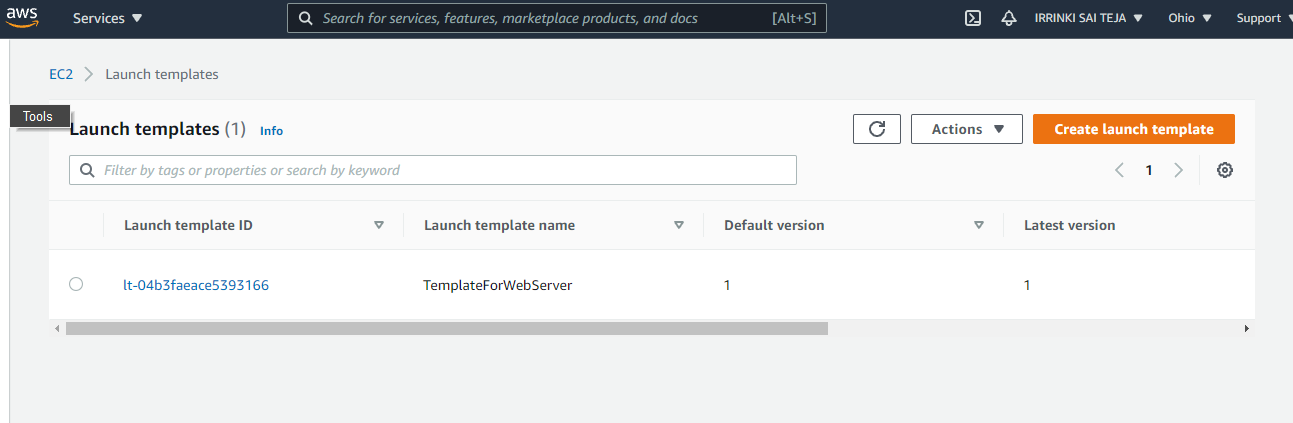
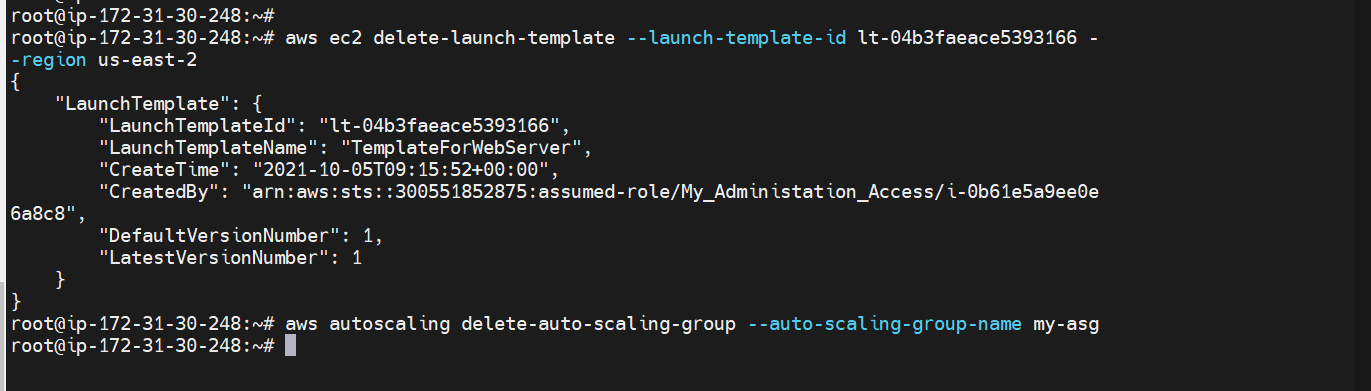
Delete Launch Template
aws ec2 delete-launch-template --launch-template-id < template id> --region <region>
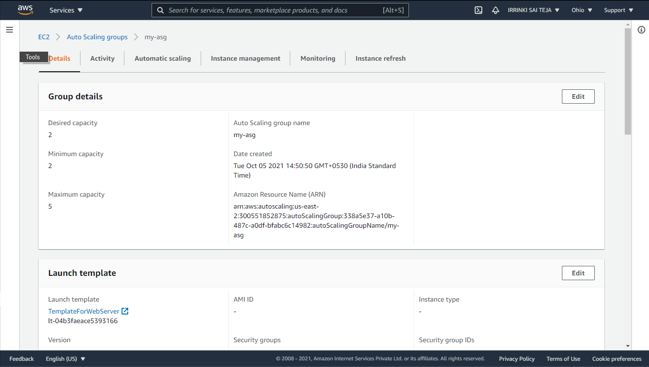
Creating Auto-Scaling group
aws autoscaling create-auto-scaling-group --auto-scaling-group-name <Name> --launch-LaunchTemplateId=<template – id > --min-size 2 --max-size 5 --vpc-zone-identifier "subnet1-id,subnet2-id,subnet3-id"

Delete your Auto-Scaling Group
aws autoscaling delete-auto-scaling-group --auto-scaling-group-name < Auto -Scaling group Name >
EBS – Elastic Block Storage
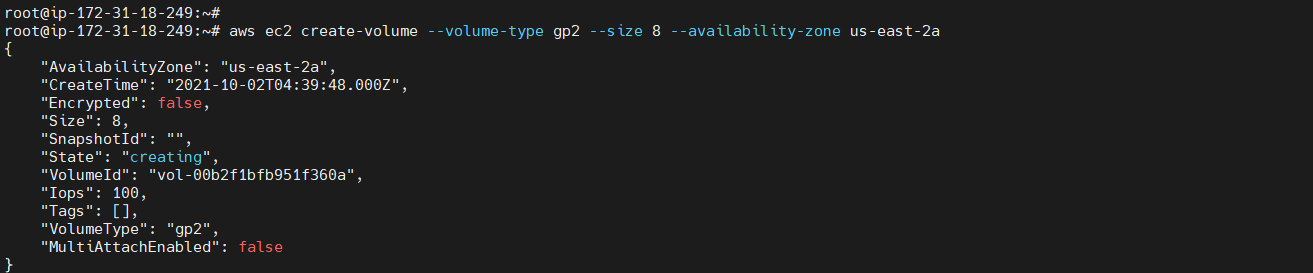
Create EBS Volume
To create an empty General Purpose SSD (gp2) volume
aws ec2 create-volume --volume-type <volume type> --size <size in number> --availability-zone <zone>
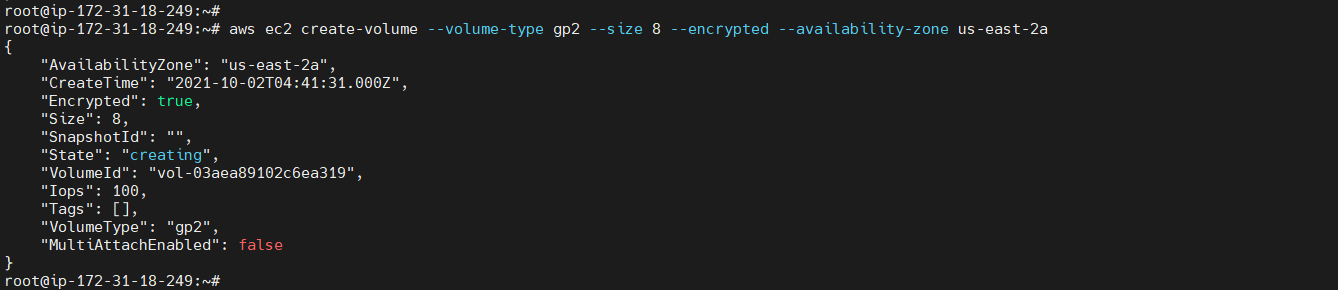
To create an encrypted volume
aws ec2 create-volume --volume-type <volume type> --size <size in number> --encrypted --availability-zone <zone>
To create a volume with tags
aws ec2 create-tags --resources <volume-id> --tags Key=Name,Value=<value>

To Delete a Volume
aws ec2 delete-volume --volume-id <volume Id>
Output
Output: None
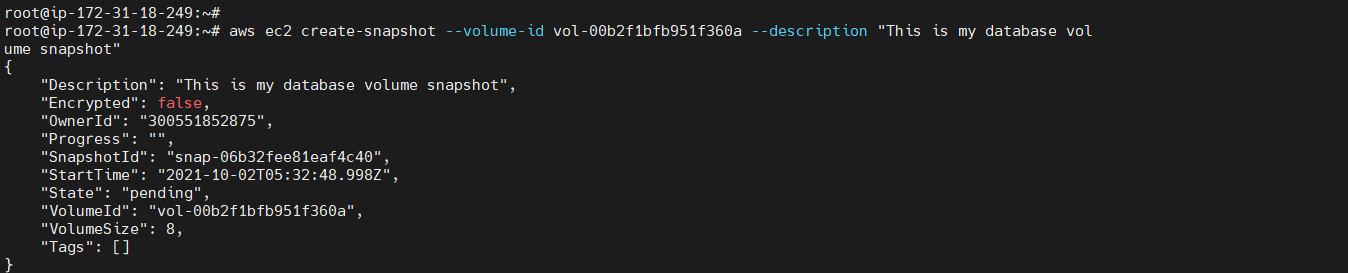
To create a snapshot
This example command creates a snapshot of the volume with a volume ID of aws ec2 create-snapshot --volume-id <volume Id> --description "<Description>"
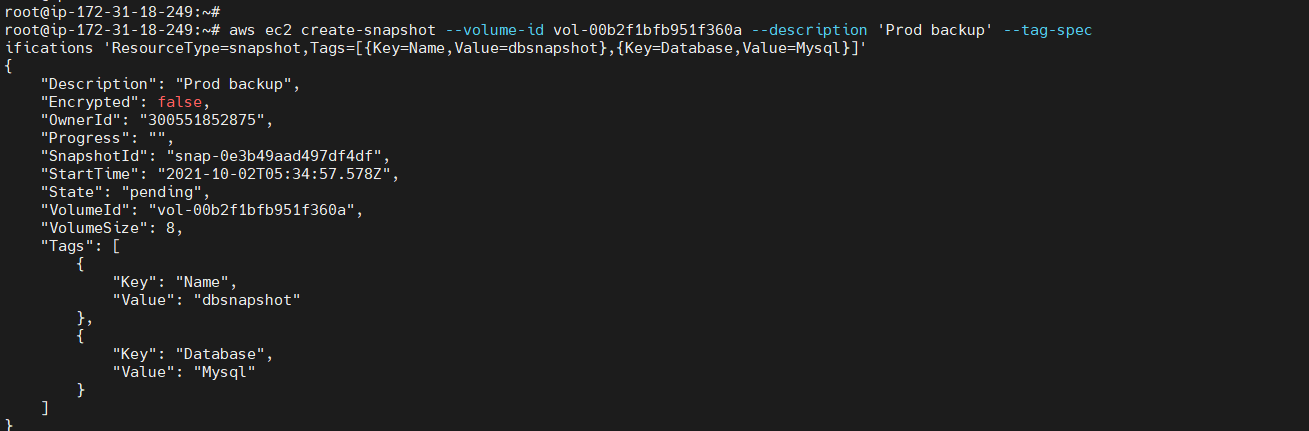
To create a snapshot with tags
aws ec2 create-snapshot --volume-id <volume Id> --description 'Prod backup' --tag-specifications 'ResourceType=snapshot,Tags=[{Key=Name,Value=<value>},{Key=Database,Value=Mysql}]'
To allocate an Elastic IP address for EC2-Classic
The following allocate-address example allocates an Elastic IP address to use with an instance in EC2-Classic.
aws ec2 allocate-address

ELB – Elastic Load Balancer
Create-load-balancer
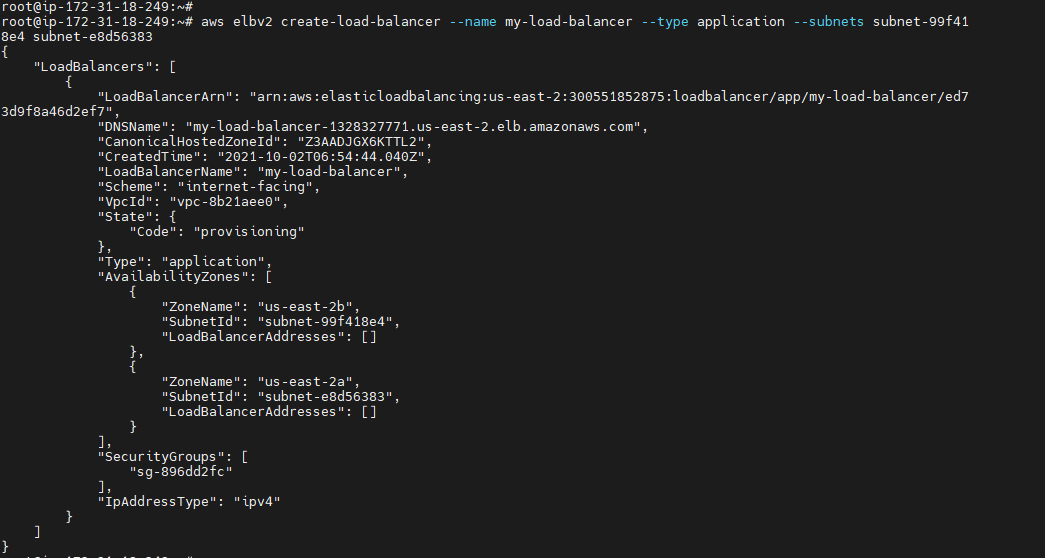
To create an Application load balancer
The below commands to find subnet id & Instance Id
aws ec2 describe-subnets
aws ec2 describe-instances
aws elbv2 create-load-balancer --name <Load balancer Name>--type <type> --subnets <subnet-Id> <subnet-Id>
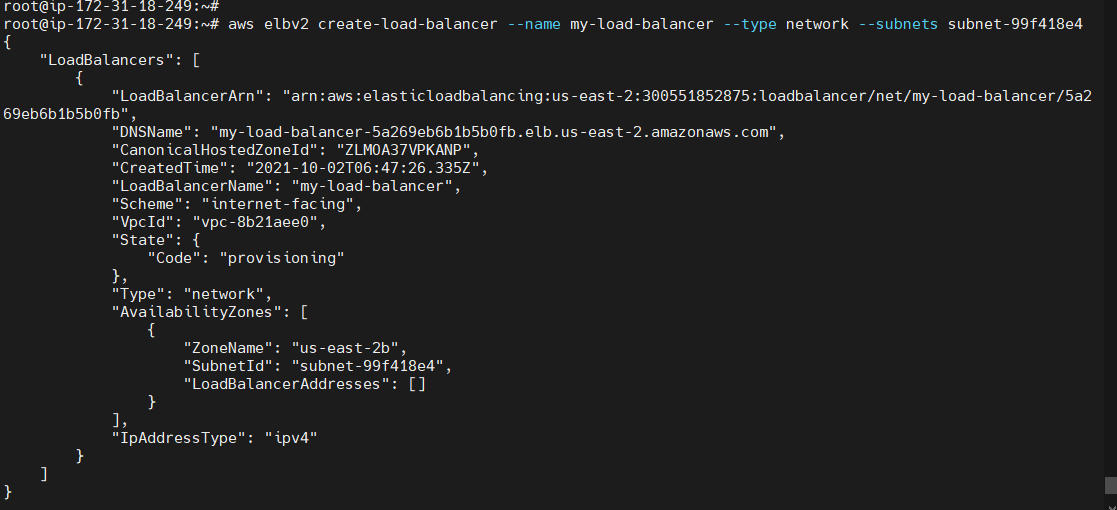
To create a Network load balancer
aws elbv2 create-load-balancer --name <Load balancer Name>--type <type> --subnets <subnet-Id>

To register instances with a load balancer
aws elb register-instances-with-load-balancer --load-balancer-name <Load balancer Name> --instances <Instance-Id>
To Delete a Specific Load balancer
aws elbv2 delete-load-balancer --load-balancer-arn <arn end point>

RDS - Relational Database Service
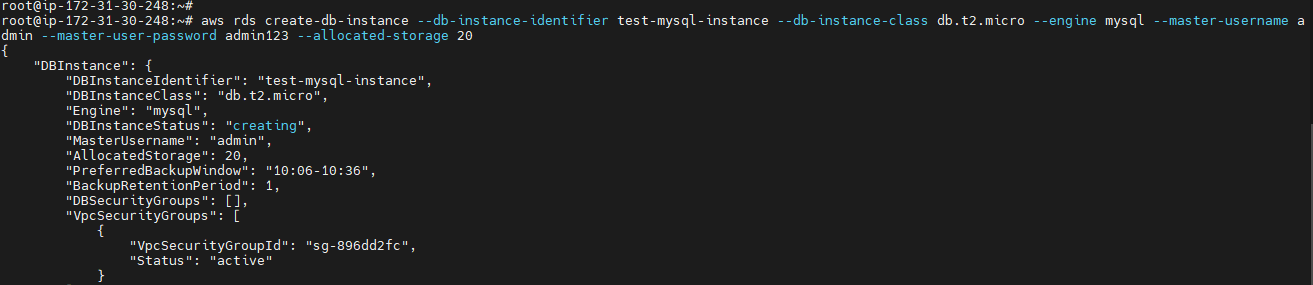
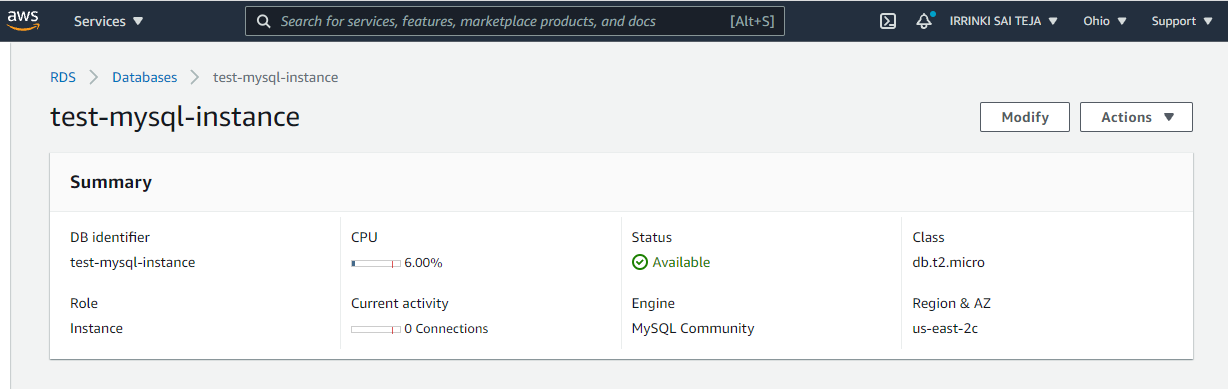
Create-db-Instance
aws rds create-db-instance --db-instance-identifier <db - Name> --db-instance-class <db.type> --engine <Database Engine> --master-username <username> --master-user-password <password> --allocated-storage <storage in numbers>
To delete your db-Instance
aws rds delete-db-instance --db-instance-identifier <db - Name> --final-db-snapshot-identifier <db - Name>-final-snap

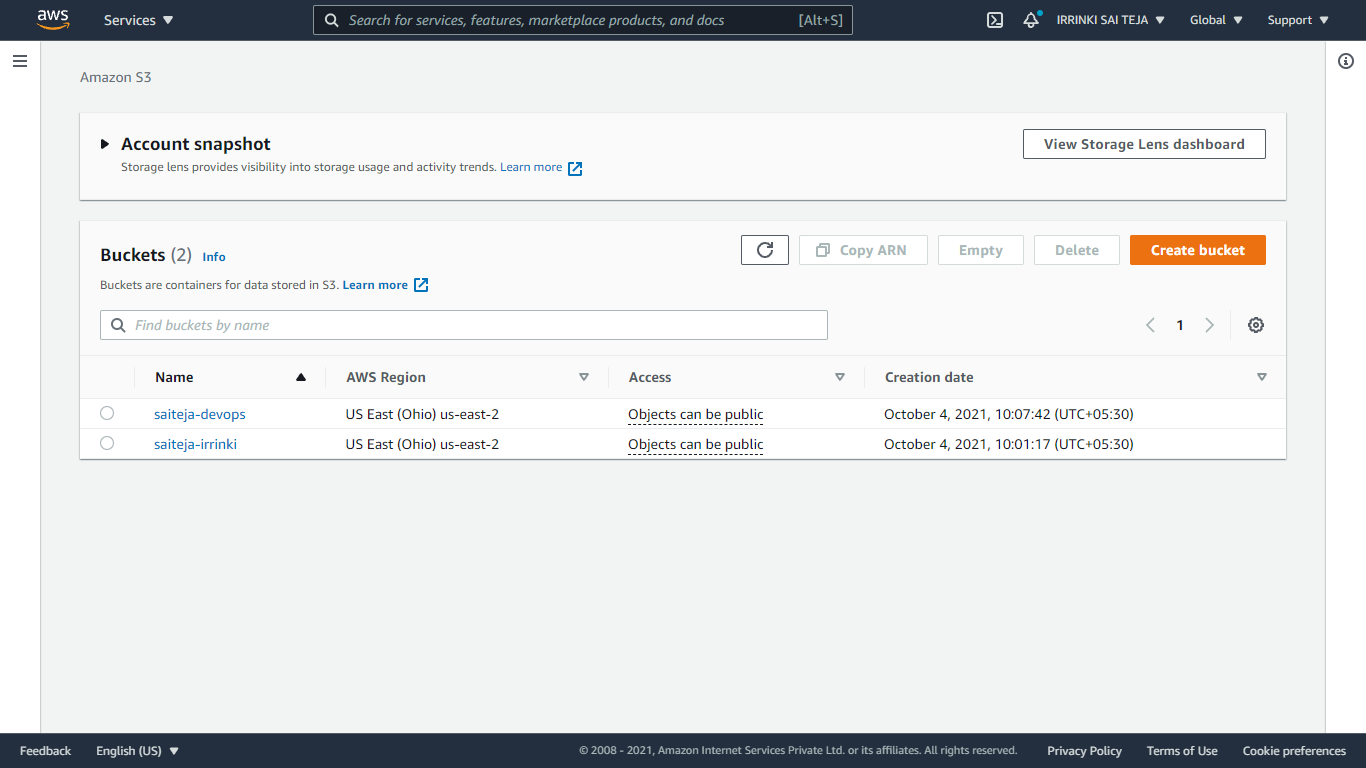
S3 – Simple Storage Service
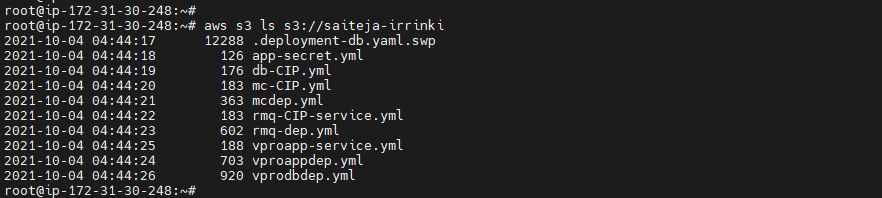
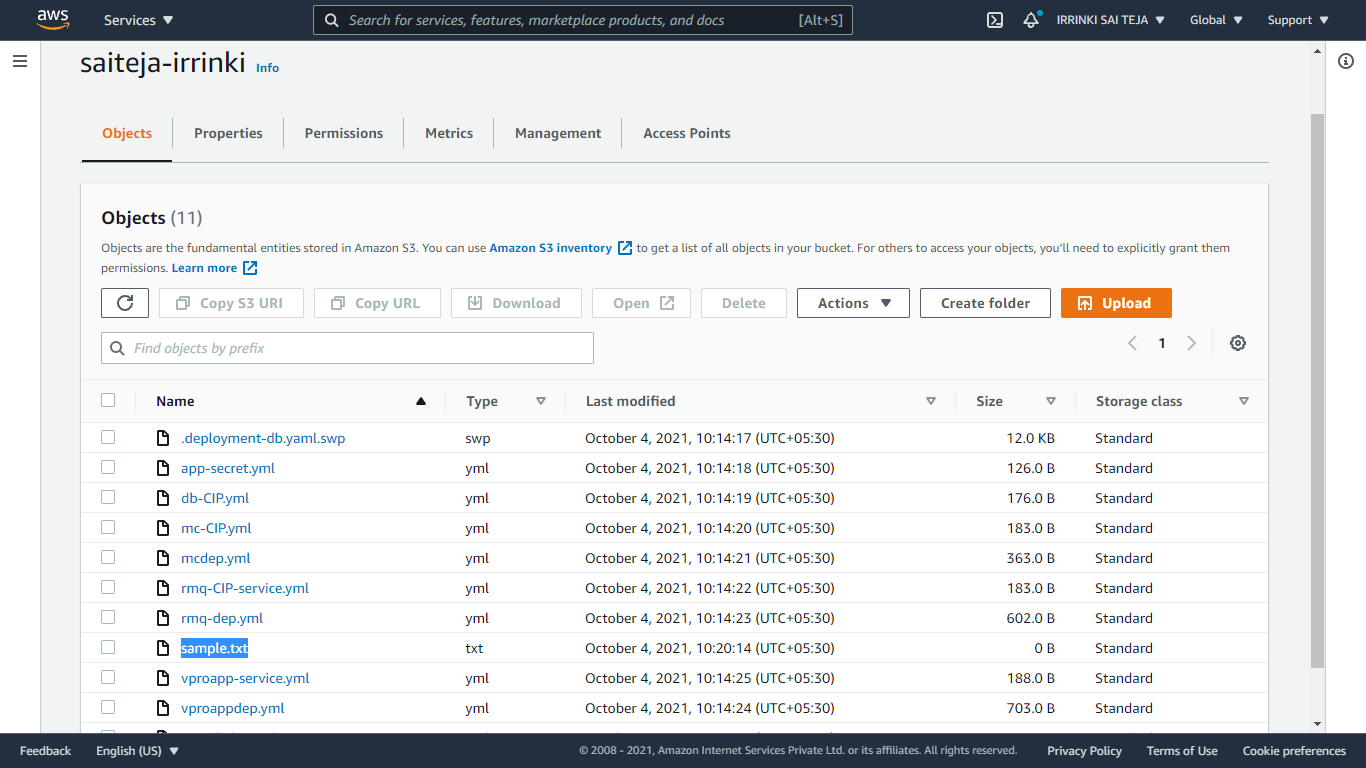
List Buckets & Objects
To list your buckets, folders, or objects, use the s3 ls command. Using the command without a target or options lists all buckets.
aws s3 ls

aws s3 ls s3://<bucket name>
Create a bucket
Use the s3 mb command to make a bucket. Bucket names must be globally unique (unique across all of Amazon S3) and should be DNS compliant.
aws s3 mb s3:// <bucket name>

Copy objects
Use the s3 cp command to copy objects from a bucket or a local directory
aws s3 cp <file> s3:// <bucket name>

aws s3 cp s3://<source bucket/file> s3://<destination-bucket>

Move objects
Use the s3 mv command to move objects from a bucket or a local directory.
aws s3 mv <local file> s3:// <bucket name>
aws s3 mv s3:// <source bucket/file> s3://<destination-bucket>
Sync Objects
aws s3 sync . s3://<bucket name>

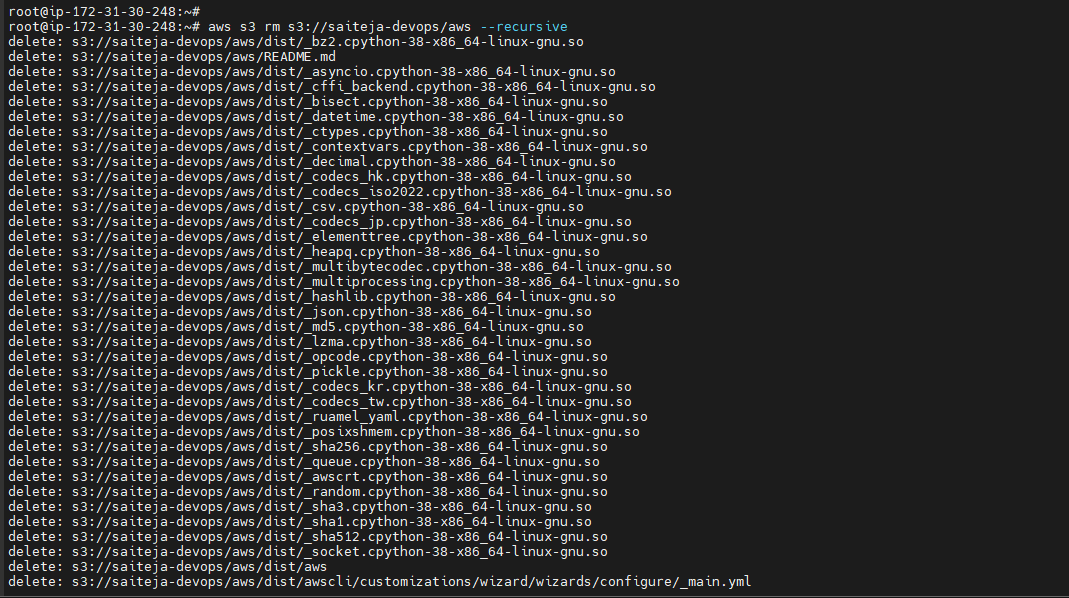
Delete Objects
aws s3 rm s3://<bucket name/file> --recursive
Empty Bucket
aws s3 rm s3://<bucket name> --recursive
Delete Bucket
aws s3 rb s3://<bucket name>
VPC – Virtual Private Cloud
To create a VPC and subnets using the AWS CLI
Create a VPC with a 10.0.0.0/16 CIDR block using the following create-vpc command.
aws ec2 create-vpc --cidr-block <Ip address> --query Vpc.VpcId --output text

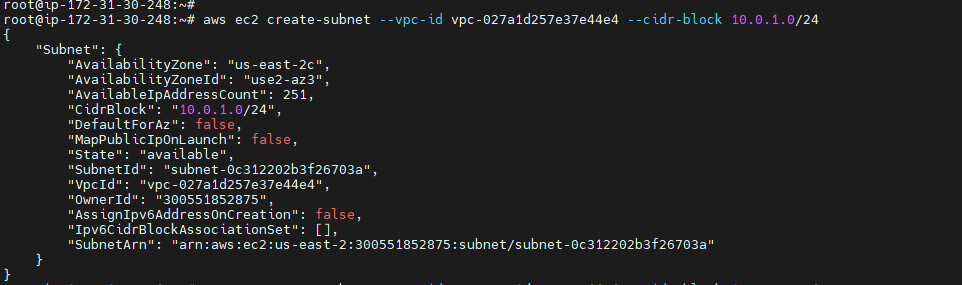
Using the VPC ID from the previous step, create a subnet with a 10.0.1.0/24 CIDR block using the following create-subnet command.
aws ec2 create-subnet --vpc-id <vpc - Id>--cidr-block <Ip address>
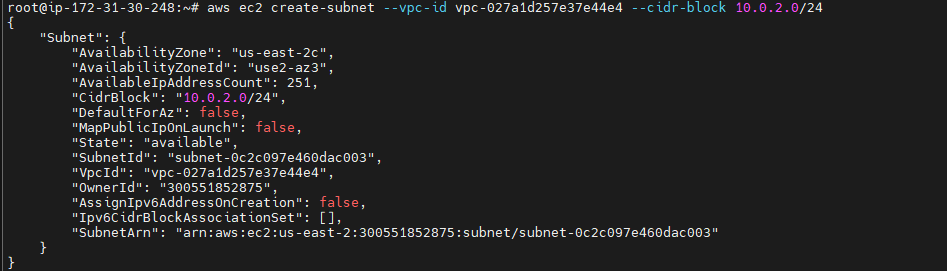
Create a second subnet in your VPC with a 10.0.2.0/24 CIDR block.
aws ec2 create-subnet --vpc-id <vpc - Id>--cidr-block <Ip address>
Create an internet gateway using the following create-internet-gateway command.
aws ec2 create-internet-gateway --query InternetGateway.InternetGatewayId --output text

Using the ID from the previous step, attach the internet gateway to your VPC using the following attach-internet-gateway command.
aws ec2 attach-internet-gateway --vpc-id <vpc - Id>--internet-gateway-id <IGW - Id>
Create a custom route table for your VPC using the following create-route-table command.
aws ec2 create-route-table --vpc-id <vpc - Id>--query RouteTable.RouteTableId --output text

Create a route in the route table that points all traffic (0.0.0.0/0) to the internet gateway using the following create-route command.
aws ec2 create-route --route-table-id <route table - Id>--destination-cidr-block 0.0.0.0/0 --gateway-id <Igw - Id>

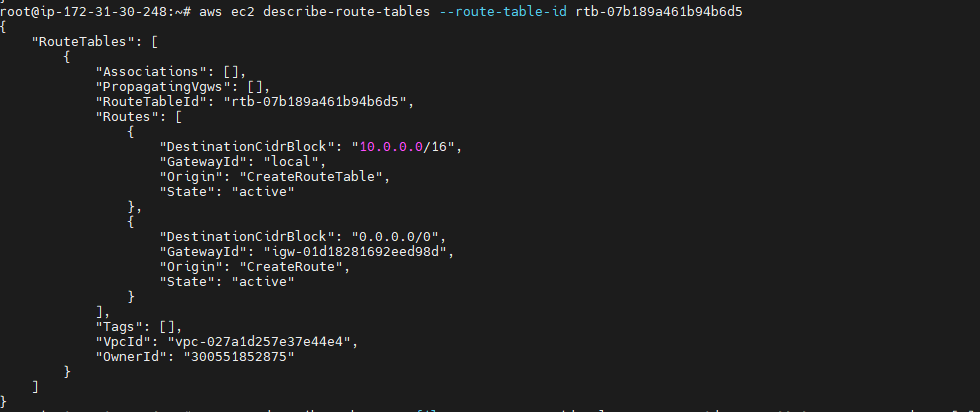
You can describe the route table using the following describe-route-tables command.
aws ec2 describe-route-tables --route-table-id <route table - Id>
The route table is currently not associated with any subnet. You need to associate it with a subnet in your VPC so that traffic from that subnet is routed to the internet gateway.
aws ec2 describe-subnets --filters "Name=vpc-id,Values=<vpc –Id> --query "Subnets[*].{ID:SubnetId,CIDR:CidrBlock}"
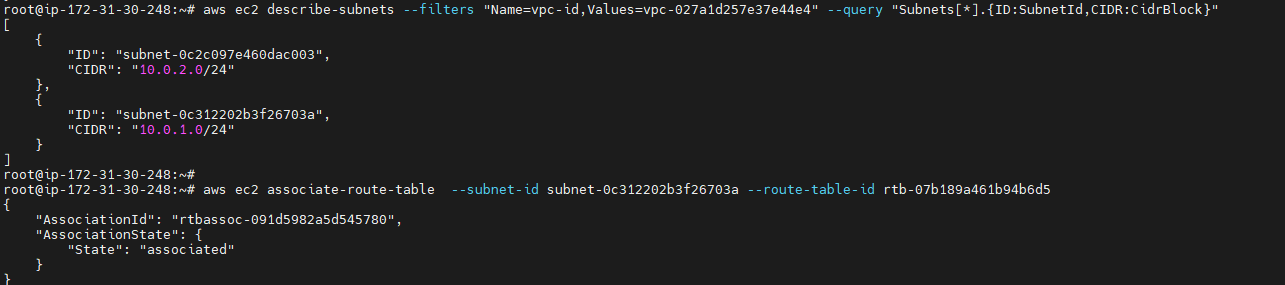
You can choose which subnet to associate with the custom route table, for example, subnet-0c312202b3f26703a, and associate it using the associate-route-table command. This subnet is your public subnet.
aws ec2 associate-route-table --subnet-id <subnet-Id> --route-table-id <route table - Id>
CLEAN UP
Delete your custom route table:
aws ec2 delete-route-table --route-table-id <route table - Id>
Delete your subnets:
aws ec2 delete-subnet --subnet-id <subnet-Id>
Detach your internet gateway from your VPC:
aws ec2 detach-internet-gateway --internet-gateway-id <Igw -Id> --vpc-id <vpc- Id>
Delete your internet gateway:
aws ec2 delete-internet-gateway --internet-gateway-id <Igw - Id>
Delete your VPC:
aws ec2 delete-vpc --vpc-id <vpc- Id>
Cloud Watch
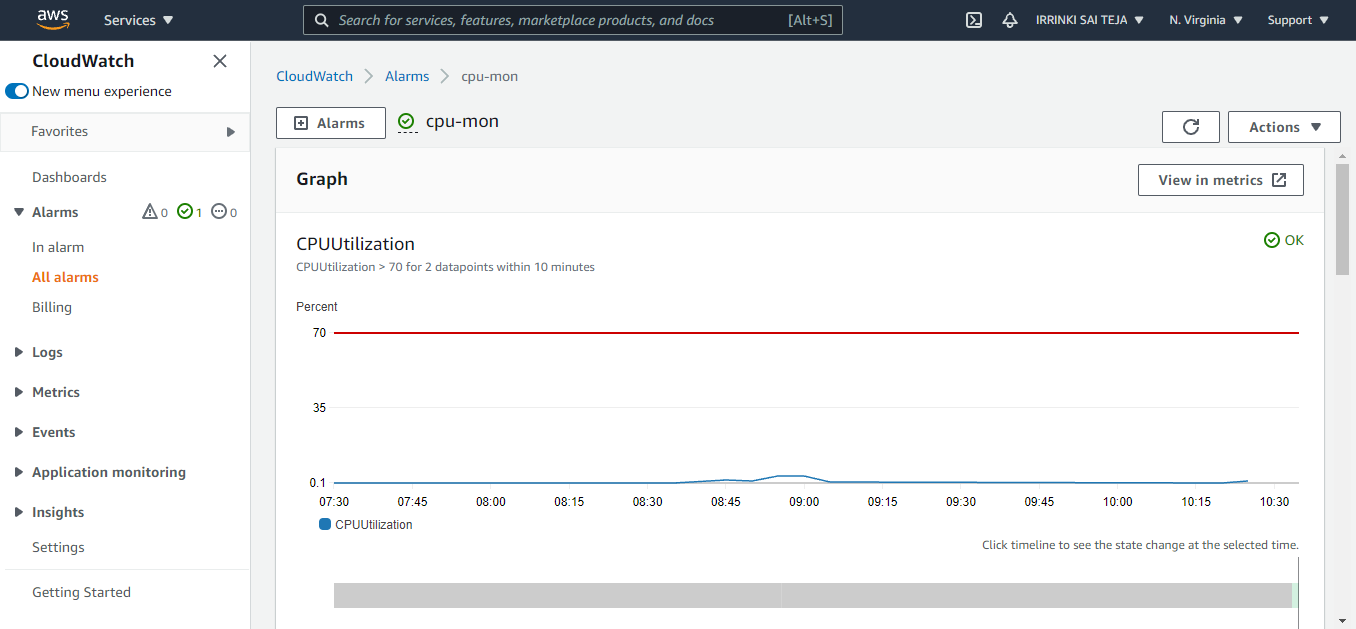
Creating Alarm
aws cloudwatch put-metric-alarm --alarm-name <Alarm name> --alarm-description "<Description>" --metric-name <Metric> --namespace AWS/EC2 --statistic Average --period 300 --threshold <70> --comparison-operator <GreaterThanThreshold> --dimensions "Name=InstanceId,Value=<Id>" --evaluation-periods 2 --alarm-actions <SNS – arn > --unit Percent

Delete Your Alarm
aws cloudwatch delete-alarms --alarm-names <Alarm name>
Disable your Alarm
aws cloudwatch disable-alarm-actions --alarm-names <Alarm name>
Enable your Alarm
aws cloudwatch enable-alarm-actions --alarm-names <Alarm name>